Settings
When Asha sets up the Acme Support workspace, there are a few things she almost always does in the first hour: fill in the company profile, decide how long conversation data is kept, choose how the team signs in, and point chat.acme.com at the workspace. All of that lives on Admin → Settings.
Who this is for: workspace admins. Viewing Settings needs the View settings permission and saving needs Manage settings; the Custom Domain tab is for admins only. API keys, the MCP server and scheduled jobs are on the separate Developer page.
Three tabs
Go to Admin → Settings (/settings). The page has three tabs, each linkable with ?tab= — for example /settings?tab=custom_domain.
| Tab | What it configures | Who sees it |
|---|---|---|
| Business | Business profile, Cross-Channel Customer Identity, Data Retention Policy | View settings (saving needs Manage settings) |
| Authentication | Email & password sign-in, Single Sign-On (OpenID Connect) | View settings (saving needs Manage settings) |
| Custom Domain | Reach the workspace on your own domain | Admins only |
Settings does not hold channels, users, roles, compliance, developer keys or billing — each has its own page (/credentials, /users, /roles, /compliance, /developer, /accounts/*). An old link to /settings?tab=api_keys takes you to the Developer page.
Business tab
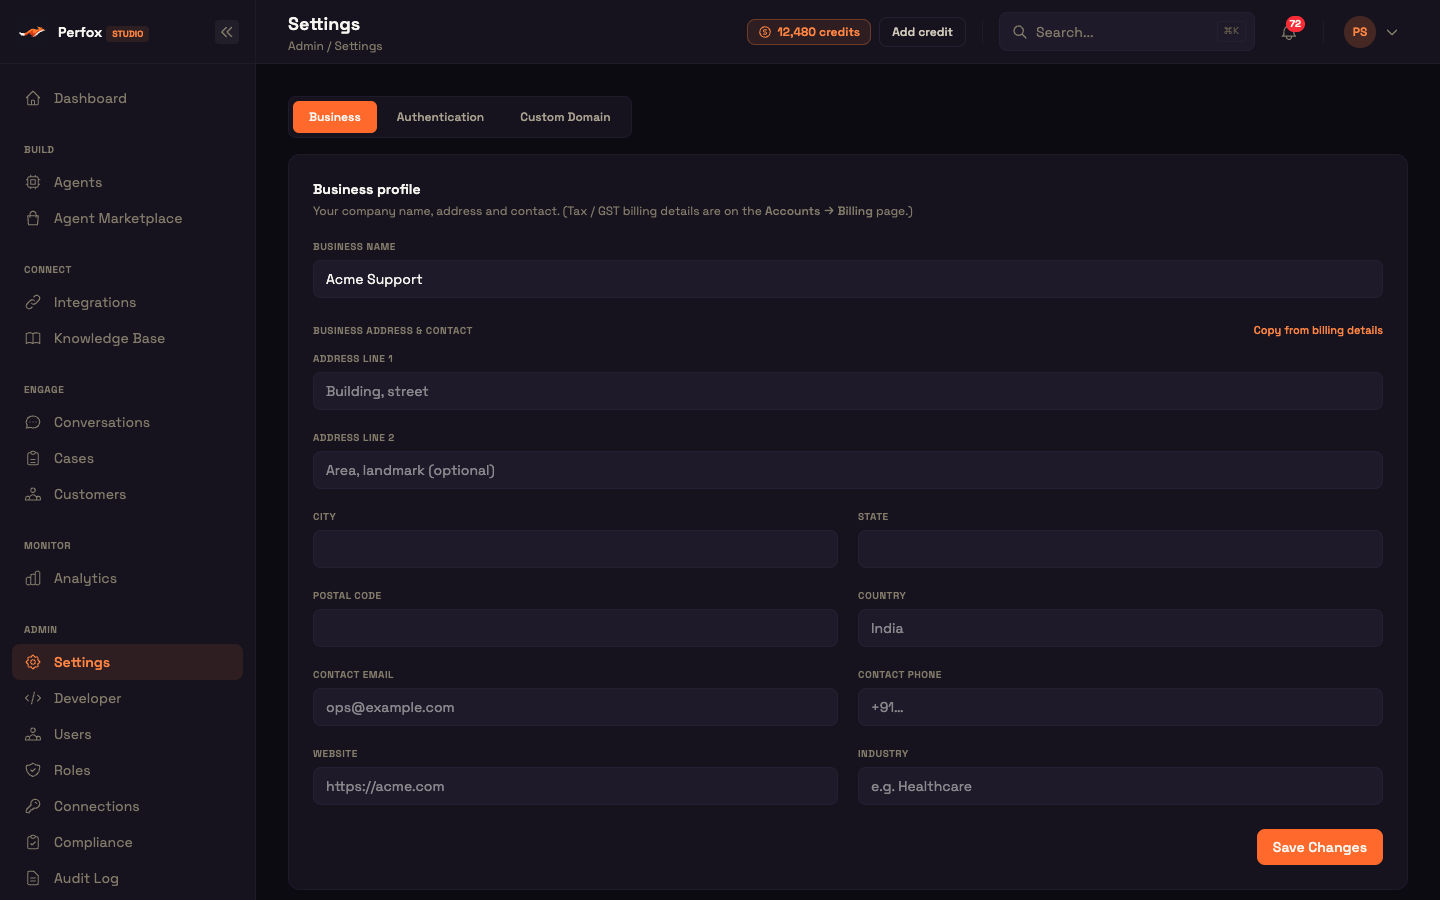
The Business tab stacks three cards.
Business profile
Your company name, address and contact details. It is informational — it does not print on invoices.
- Business Name — the workspace's display name.
- Business address & contact (all optional): Address line 1, Address line 2, City, State, Postal code, Country, Contact email, Contact phone, Website, Industry.
Copy from billing details fills Address line 1, State and Contact email from your billing details on Accounts → Billing (or tells you to add billing details first if there are none). Click Save Changes to save the profile.
Business profile ≠ billing details
The legal name, GSTIN and address printed on GST invoices live on Accounts → Billing. The Business profile here is separate.
Cross-Channel Customer Identity
This card controls how the AI groups one customer's history across email, SMS, WhatsApp, phone and web chat.
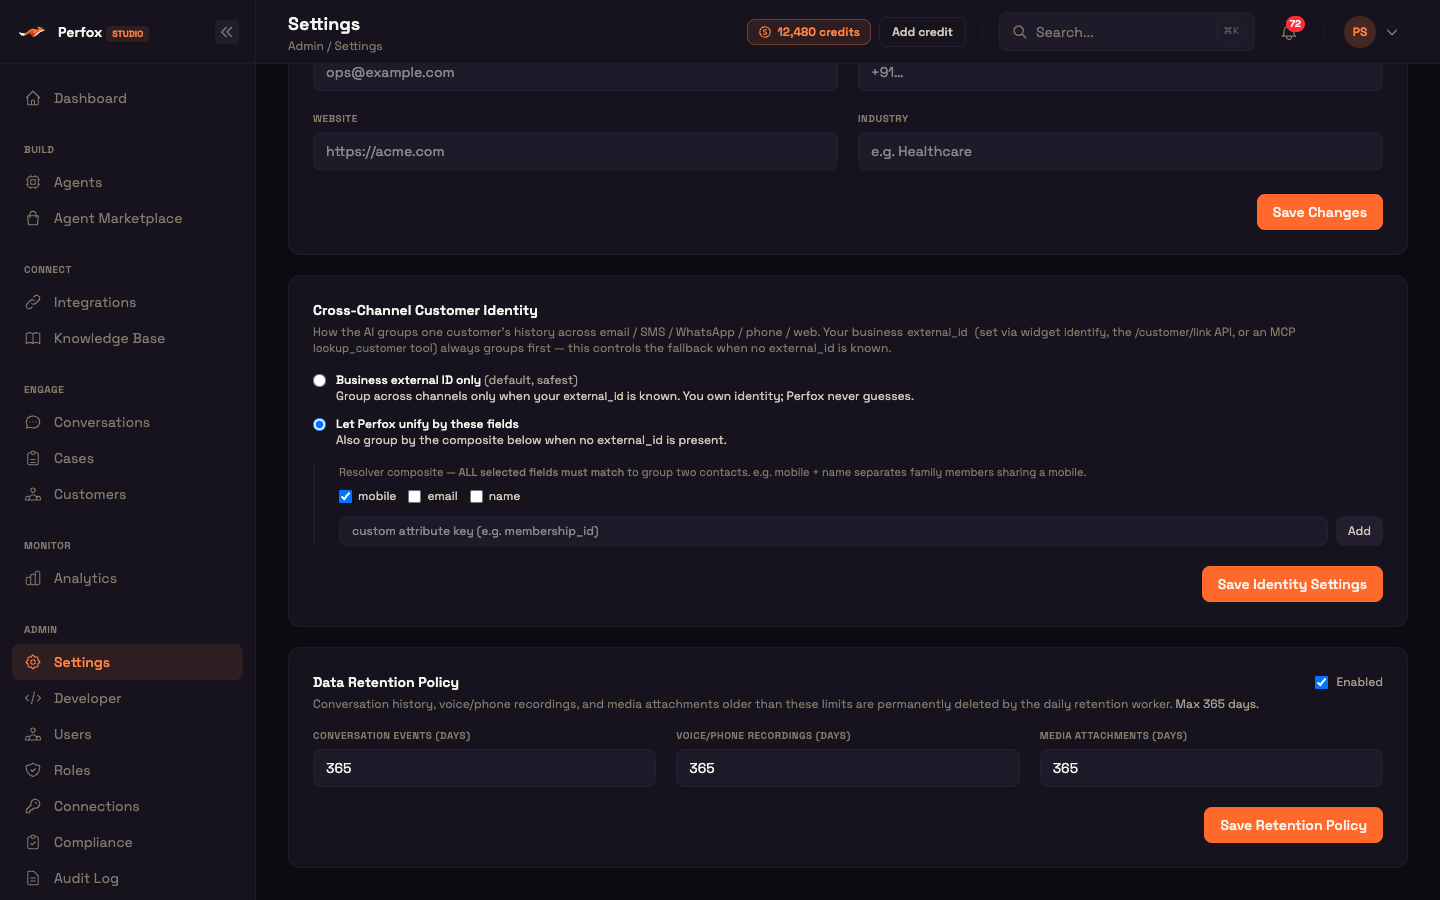
Your own business customer ID (external_id) always groups first. You can set it when you identify a visitor in the chat widget, through the customer-link API, or from a customer-lookup tool in your MCP server. This setting decides what happens when no external_id is known:
| Option | Behaviour |
|---|---|
| Business external ID only (default, safest) | Channels are grouped only when your external_id is known. You own identity; Perfox never guesses. |
| Let Perfox unify by these fields | Also group contacts by a combination of fields when no external_id is present. |
With Let Perfox unify by these fields, tick the fields that must all match before two contacts are treated as one customer — mobile, email, name — or type a custom attribute key (for example membership_id) and click Add. Requiring mobile and name, for instance, keeps family members who share a phone number apart. At least one field is required. Click Save Identity Settings.
Data Retention Policy
Controls how long data is kept before the daily cleanup permanently deletes it.
- Enabled — the master switch. Turning it off pauses cleanup.
- Three day counts, each 365 days by default:
| Field | What it deletes |
|---|---|
| Conversation events (days) | Conversation history — messages and tool calls |
| Voice/phone recordings (days) | Call recordings |
| Media attachments (days) | Uploaded media |
The maximum is 365 days ("Max 365 days."). A value over the limit shows an error and disables Save Retention Policy. You can shorten retention freely — useful for DPDP / GDPR data-minimisation — but not extend it past 365 days. A "Saved" confirmation appears on success.
Keep the three windows equal (or conversation events longest), so a conversation is never left pointing at a recording that has already been removed.
Authentication tab
The Authentication tab controls how your team signs in to the Studio. Changes apply to the whole workspace as soon as you click Save Authentication Settings.
Email & Password
A single toggle — Enable email / password sign-in — on by default. Passwords are stored securely hashed. Turn it off to require Single Sign-On.
Single Sign-On (OpenID Connect)
Connect any standard OpenID Connect identity provider — Okta, Auth0, Keycloak, Microsoft Entra ID and similar. A toggle in the card header turns SSO on (off by default); while it is off the fields are greyed out.
| Field | Notes |
|---|---|
| Provider Display Name | The label on your SSO sign-in button |
| Scopes | Default openid email profile |
| Discovery URL | Your provider's .well-known/openid-configuration address |
| Client ID | From your identity provider |
| Client Secret | Write-only. After saving, the field shows ••••••••; type a new value to replace it, or leave it to keep the stored secret |
| PKCE (Proof Key for Code Exchange) | On by default and recommended |
Test Connection fetches the Discovery URL and checks that it lists an authorization and a token endpoint, then shows the issuer (or the error).
Redirect URI (add this in your IdP) shows the exact callback address for your workspace — copy it into your identity provider's allowed redirect URIs.
Custom Domain tab
Admins can reach the workspace on their own domain — for example chat.acme.com — in addition to the default address, which keeps working.
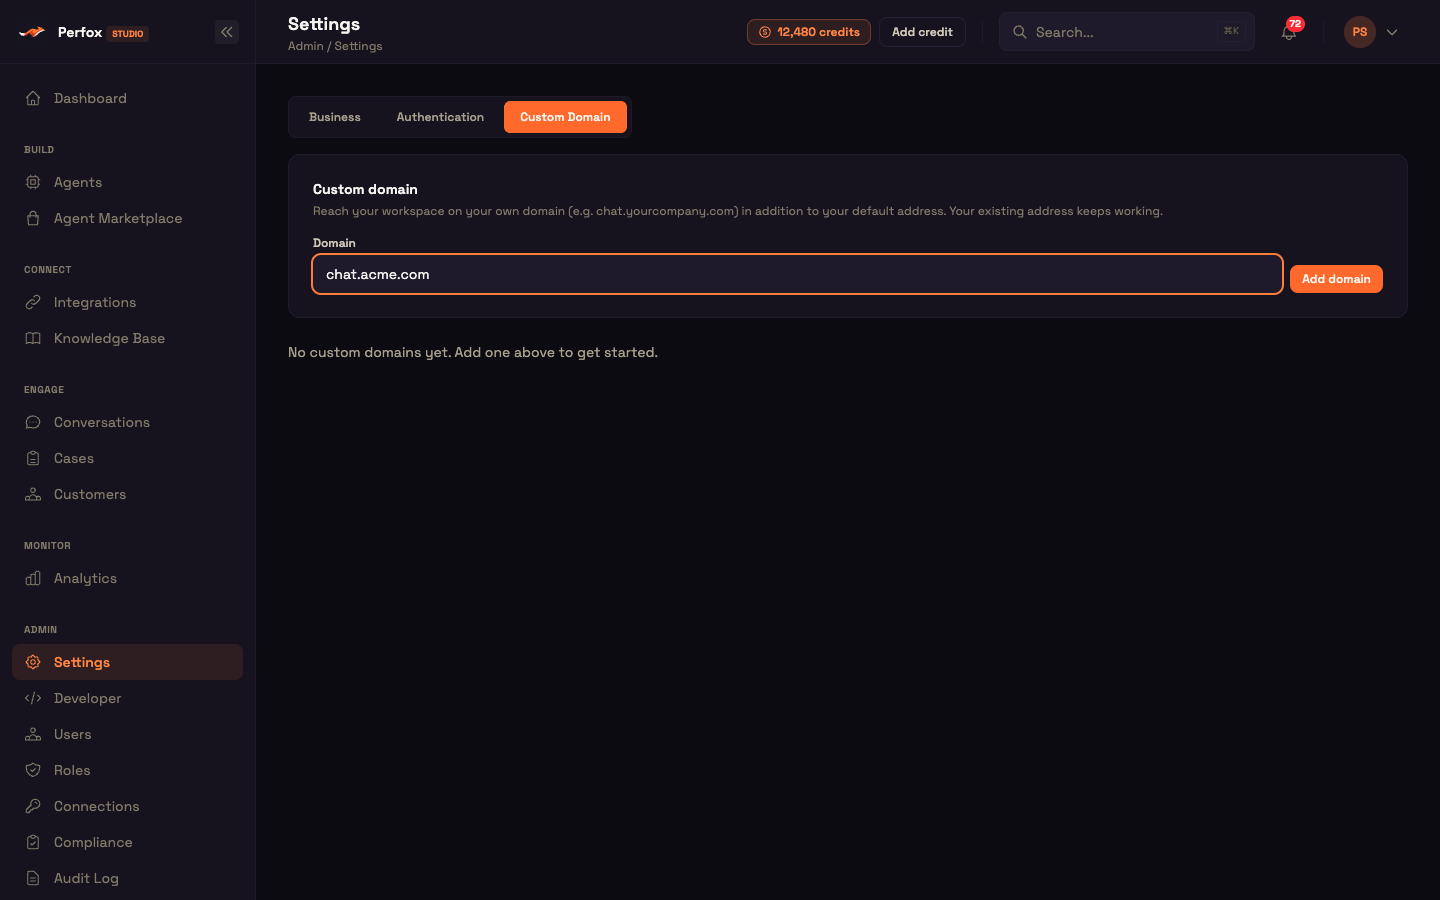
- Type the domain under Domain and click Add domain. It is added in Pending DNS.
- Create the two DNS records shown in the table — a CNAME pointing at the target Perfox gives you, and a TXT record with your ownership token. Each value has a copy button; TTL is "Auto / 3600".
- Click Verify. Perfox checks ownership (the TXT record) and routing (the CNAME). If something is wrong, the reason is shown under the domain.
- Once verified, a TLS certificate is issued automatically (this can take a few minutes). When the domain is Active, the panel shows "Live — your workspace is reachable at https://…".
Use Remove to drop a domain.
| Badge | Meaning |
|---|---|
| Pending DNS | Records not created yet, or not yet visible |
| Verified — issuing certificate | Ownership and routing confirmed; certificate on its way |
| Active | Live over HTTPS |
| Action needed | Verification failed — check the reason shown |
One custom domain serves everything: the Studio, the chat widget, your API and webhooks. See Custom Domains for a worked example.
Reference
How the daily cleanup works
Cleanup runs once a day. It deletes conversation events, recordings and media older than your retention windows. When a recording or attachment has expired but its conversation entry is still kept, the Studio shows it as "expired" rather than a broken link. This pairs with the data-subject rights on Compliance.
Every option
| Tab | Control | Values / default |
|---|---|---|
| Business | Business Name + 10 address & contact fields | text, all optional except the name |
| Business | Copy from billing details | fills Address line 1, State, Contact email |
| Business | Cross-Channel Customer Identity | Business external ID only (default) / Let Perfox unify by mobile, email, name or custom keys |
| Business | Retention Enabled | on |
| Business | Conversation events / recordings / media (days) | 1–365, default 365 |
| Authentication | Enable email / password sign-in | on |
| Authentication | SSO | off; Provider Display Name, Scopes (openid email profile), Discovery URL, Client ID, Client Secret, PKCE (on) |
| Custom Domain | Add domain / Verify / Remove | admins only |
See also
- Developer — API keys, the MCP server and scheduled jobs
- Users and Roles — who can view and change Settings
- Accounts & Billing — the billing details printed on invoices
- Compliance — data-subject rights that pair with retention